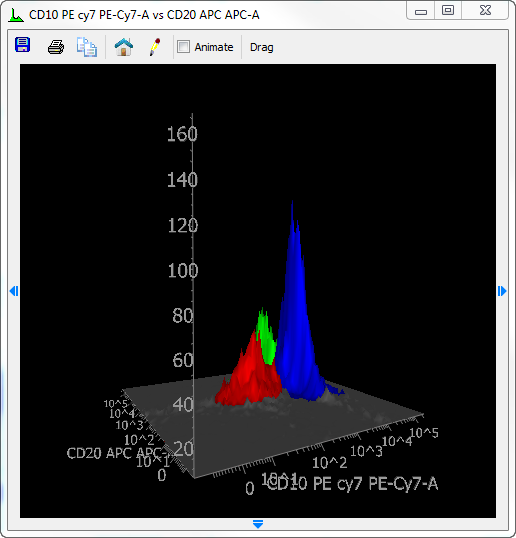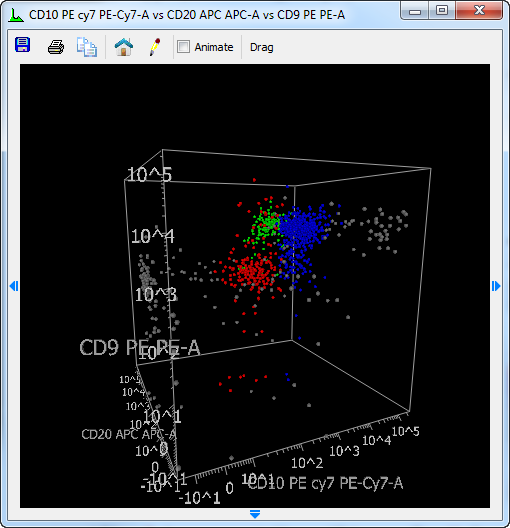
The 3D viewer can display 2- or 3-parameter data in a number of different formats. The colors that are applied to the 3D data are same as those shown in the standard display. Zoom settings that you make on the histograms will be used by the 3D viewer window. The 3D viewer provides additional flexibility, allowing rotation and zooming on the data display.
For details on the Iso3D display options for 2-parameter data, see 2-Parameter Display Options.

For details on the 3D display options for 3-parameter data, see 3-Parameter Display Options.

Displaying Additional Controls and Options
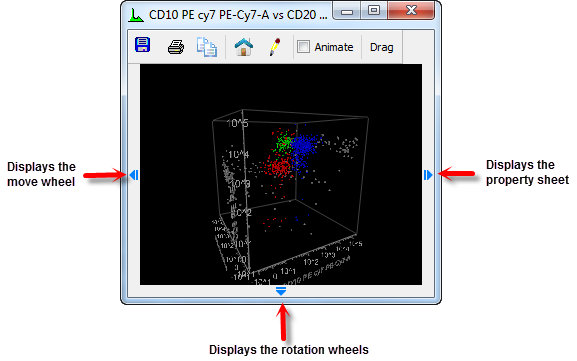
The viewer has small arrows on its left, right, and bottom edges. Click or hover the mouse on one of the arrows to display the controls that it contains.

Editing Properties
Click or hover the mouse on the small arrow on the right edge of the viewer window to display the properties sheet. The property sheet contains a tree of objects and a property list for the selected object in the tree. You can also click the pencil icon on the viewer toolbar to display the properties sheet. See 2-Parameter Display Options or 3-Parameter Display Options for details on properties.
Rotate the image
Click, hold, and drag on the viewer window. The image in the window will rotate as you drag the mouse. Release the mouse button to complete the rotation. You can also use the rotation wheels contained in the property sheet at the bottom of the viewer window.

Animate the image
When you enable the Animate checkbox at the top of the viewer, the image will rotate. You can control the direction and speed of rotation by using the mouse. Click, drag, and release to set the speed and direction.
Save the image
Click the Save icon on the viewer toolbar to save the 3D image as a graphic file on disk. A dialog is displayed to set the size and resolution of the image. Adjust the properties as needed and then click OK. The Save Image dialog is displayed to select a name and format for the image.
Print the image
Click the Print icon on the viewer toolbar to print the image.
Copy the image
Click the Copy icon on the viewer toolbar to copy the image to the clipboard.
The Home position
Click the Home icon to return the image to its default rotation and position.
Drag and Drop
Use the Drag button on the toolbar to begin a drag-and-drop operation. Click the button, drag it to the destination (e.g. a Report window), then release the button to finish the action.
See also: