 Log on to the "server" computer with the administrative user account that will be used to run the Network License Manager. This user must have administrative rights to the computer.
The Network Version of WinList is designed to be installed and managed on a single "server" computer by a user with administrative rights to the computer. The computer needs to be visible on the network to the users who need to run WinList. The server computer should be running 24/7 to provide access whenever those users need access; users will not be able to run the software if the "server" computer is shut down or off the network.
The "server" software can be set up on a machine running Windows 7, or greater; or it can be installed on one of the Microsoft Server versions from 2008 or greater. One component of the WinList network version will be set up to run all the time on the server computer.
Configuration of the Network Version
 Log on to the "server" computer with the administrative user account that will be used to run the Network License Manager. This user must have administrative rights to the computer.
 The WinList 3D Network folder needs to be shared to allow network users to access and run WinList. Use the utilities on your computer to share the folder and provide Read-access rights to the users who need to run WinList.

 Run the Network License Manager (NLM) application. On Vista and newer operating systems, right click on the application and choose "Run as administrator".

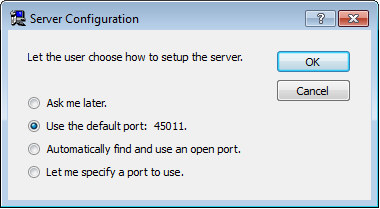
 When NLM starts it will prompt you to choose a port to use. This is a TCP port that the software will monitor to communicate with network users who are running WinList. In most cases the default port is fine. You may be prompted by User Access Control on your computer to allow the software to use this port; allow the software to use the port if prompted.
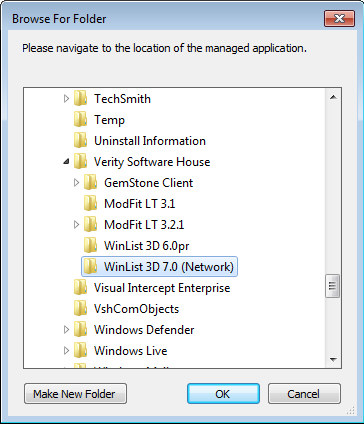
 Next, you will be prompted to select the location of the WinList 3D installation. The step is important because it will allow the NLM to write a special file (NLMServerInfo.txt) into the WinList directory that will allow WinList to connect to the NLM on your server.
Adding Licenses to the Network Version
Once the Network License Manager is installed and configured, you are ready to add licenses for WinList. Each license you add provides one use of WinList at a time on the network. For example, if you add 5 licenses, NLM will support 5 simultaneous users on the network.
 Click the Add a network license button on the Network License Manager toolbar.

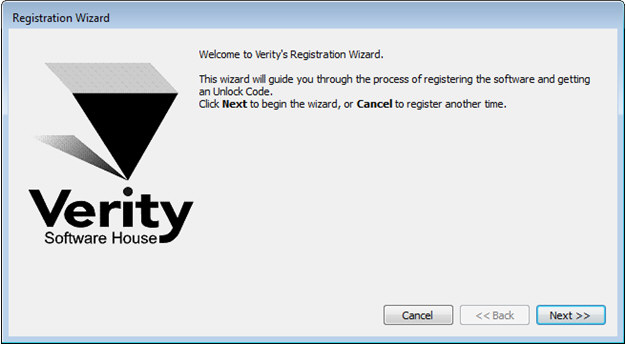
 The Registration Wizard will be displayed. For each network license, enter the Serial Number, CD Key and user account information to register the license. This process needs internet access to the Verity Software House web site, www.vsh.com.
Testing Your Installation
After installation and adding licenses to the Network License Manager, you are ready to test the setup.
 First, run WinList on the server itself. Launch WinList3D.exe. If the system is properly configured, the program should start and operate correctly. If the WinList cannot communicate with the Network License Manager, an error message will be displayed.
 After you have verified that WinList will run on the server itself, you are ready to test it from another network computer. From a network computer, navigate to the WinList share that you created on the server computer. The first time that you run WinList from a network computer, you should run the script "WinList3D_NetworkSetup.vbs" located in the WinList installation folder. This script will ensure that required DLLs are installed on the network computer. This script only needs to be run once; after that, the program can be run via a desktop shortcut on the network computer.
Setup a Scheduled Task to Run NLM on Windows 7
The Network License Manager needs to run all of the time on the server computer, so it is useful to set up a task that will automatically launch NLM each time the server computer starts up. The specific instructions shown here for setting up a scheduled task will vary a bit from one OS to another.
 Note: the scheduled task should be run with the same user account that was used to configure the Network License Manager.
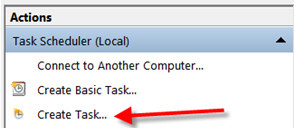
 From the System and Security section of the Control Panel choose Schedule tasks under Administrative Tools. Choose Create Task from the Actions pane.

 On the general tab, give the task a name and description and select the Windows OS user that was used when configuring the NLM. Choose for the task to run even if the user is not logged in
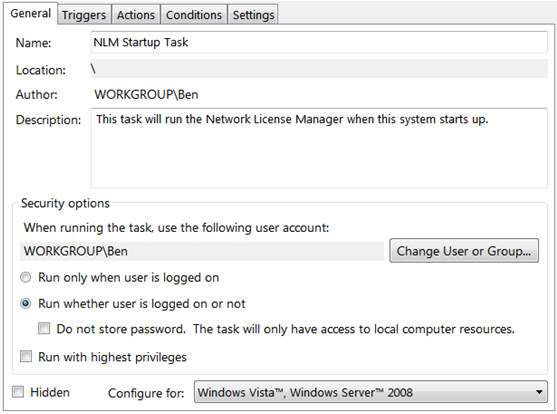
 On the Triggers tab, click New. In the New Trigger dialog, choose "At startup" for the Begin the task dropdown and click OK.

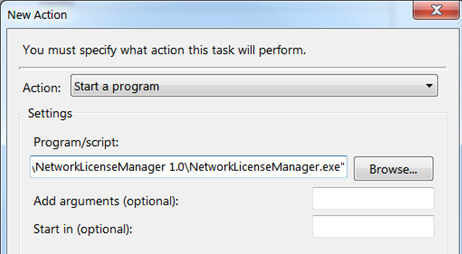
 On the Actions tab click New. Click Browse, navigate to the folder containing the Network License Manager, select NetworkLicenseManager.exe, click Open, and then click OK.
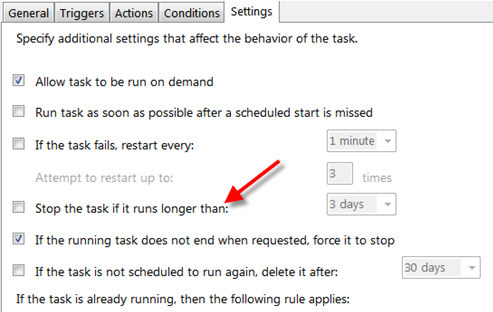
 On the Settings tab, uncheck the box next to "Stop the task if it runs longer than". We do NOT want this task to be stopped. Click OK to complete the task creation process.
The next time that the server computer is restarted, the Network License Manager should automatically start up. You may want to restart the computer to verify this.