This command displays the Create Histograms dialog box and provides a fast and efficient way to create a set of histograms.
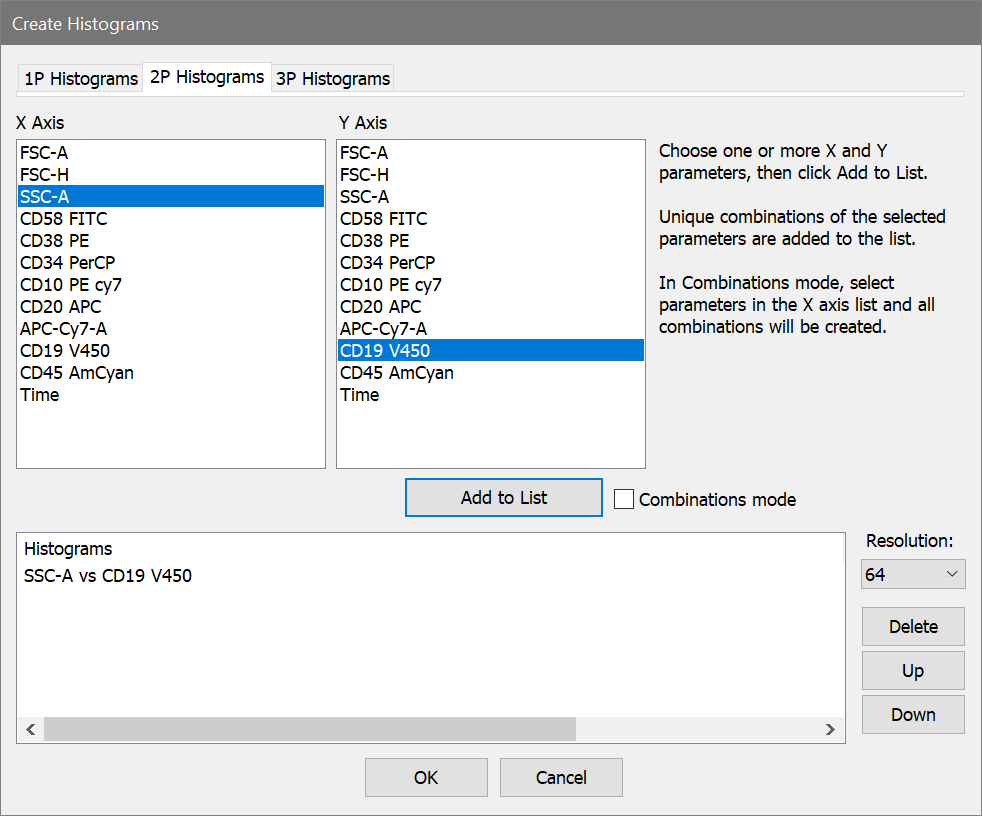
The dialog has a tab for 1P, 2P, and 3P histograms. The initial tab that is shown is the 2P Histograms tab.
Selection Methods
Selection on the 1P Histograms tab is fairly obvious: highlight one or more parameters in the X Axis listbox and click Add to List. If you click Add to List more than once, you can create more than one copy of the histogram to allow different gating strategies.
For 2P Histograms, there are a variety of ways to select parameters. The X Axis and Y Axis listboxes allow multiple selections, and when the Add to List button is clicked, the program generates a list entry for all combinations of the parameters selected in the X and Y lists. For example, if you want Side Scatter vs Forward Scatter and Side Scatter vs CD45, you can select Side Scatter in the X Axis list, and both Forward Scatter and CD45 in the Y Axis list and click the Add to List button.
If there is a set of parameters for which you want to see all possible plots, you can select the parameters in the X Axis list, and then check the Combinations mode checkbox. In this mode, the Y Axis list is grayed out. All combinations of the selected parameters are added to the list when you click Add to List.
The 3P Histograms list works in a similar manner, but does not include the Combinations mode option.
Add to List
This button generates one or more entries in the Histograms list, based on the selected items and the selection mode. Click the button more than once to create additional copies of the selected items.
Note: If all of the items that you want to create are of the same type (e.g. 2P histograms) and can be selected at the same time, it is not necessary to click the Add to List button. When the OK button is clicked, the selected items will be used to generate the histograms.
Resolution
This drop-down list allows you to select the resolution for the histograms. Select a resolution before clicking the Add to List button.
Delete
This button deletes the selected items in the Histograms list.
Up/Down
These buttons allow you to change the order of items that have been added to the list. Select one or more items in the list and click Up to move them up in the list, or Down to move them lower in the list.
OK
Click the button to close the dialog and create the selected items.
Cancel
Click the button to close the dialog and cancel the creation of multiple histograms.